
an experiment in natural ink making
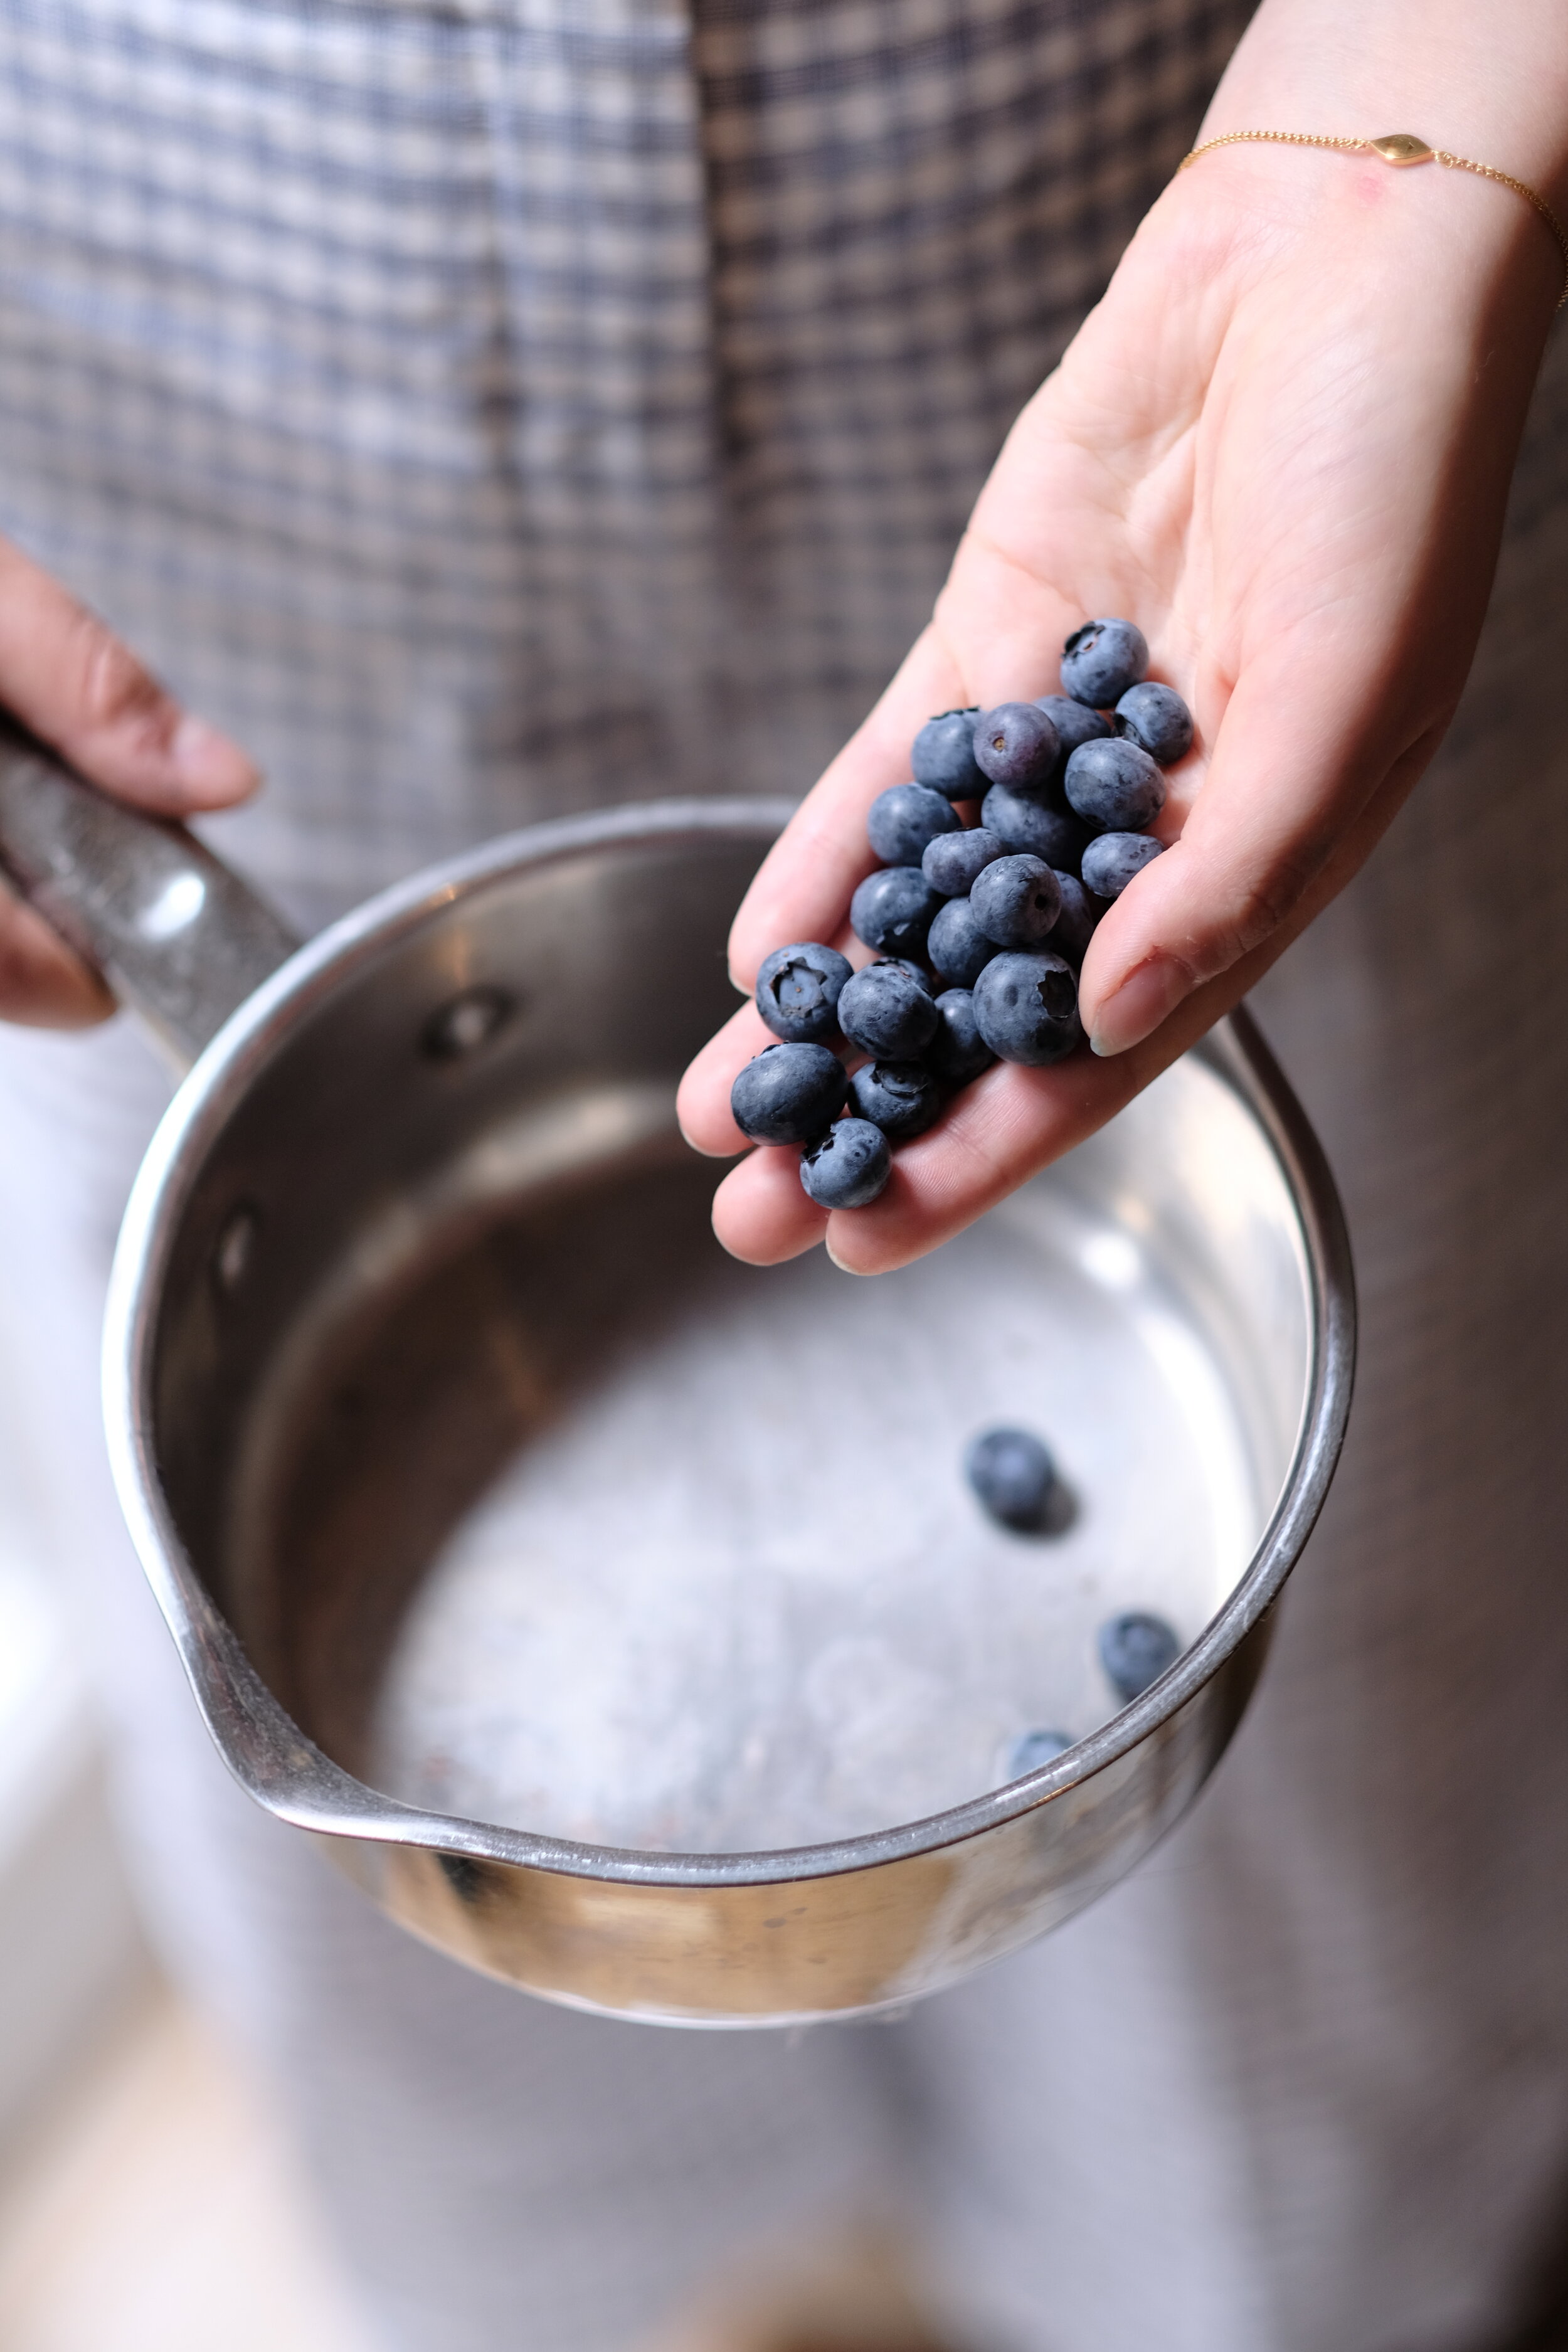
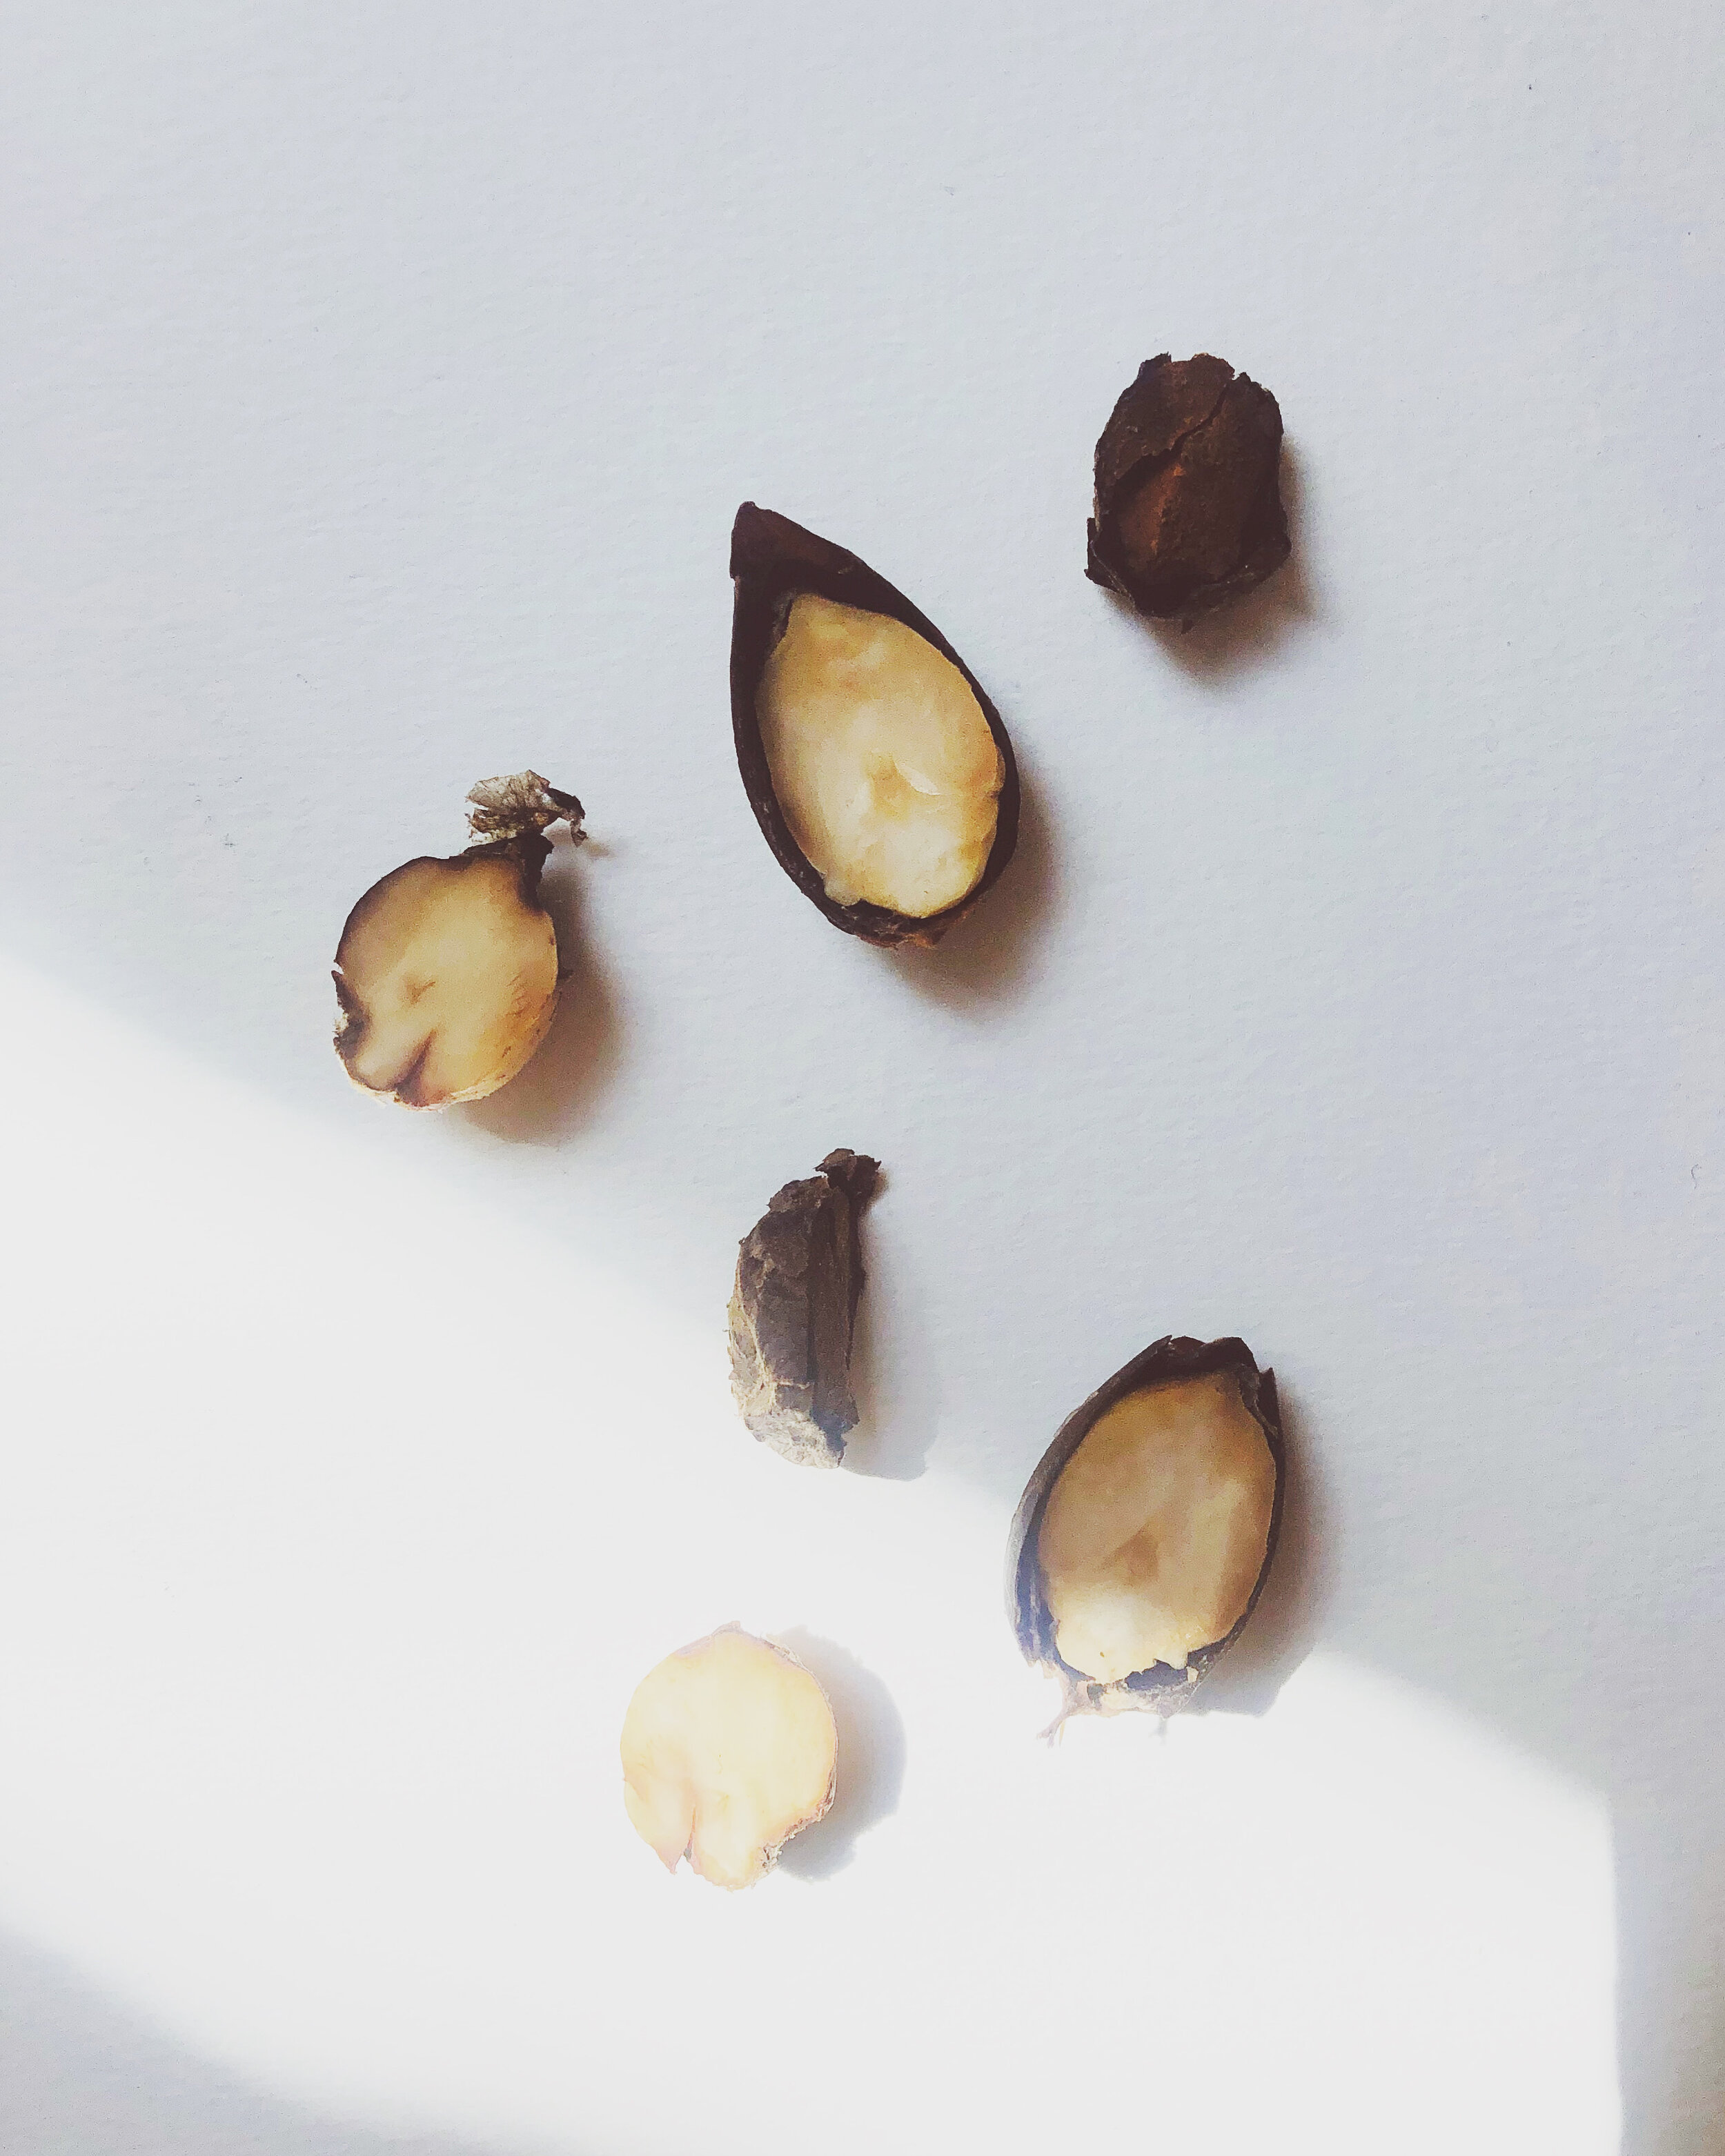
Inspired by Jason Logan's fascinating book Make Ink and Tanya Val's 30 days of ink challenge, I was curious to know if ink made using natural resources would be able to be used with a dip pen nib (the kind I use for calligraphy). There is an abundance of information, recipes and supplies out there, but I couldn't find how to apply these to handwritten calligraphy. So I decided there was nothing to lose - and through lots of trial and error I managed to create three gorgeous natural ink shades from blueberries, red onion skins, and avocado skins.
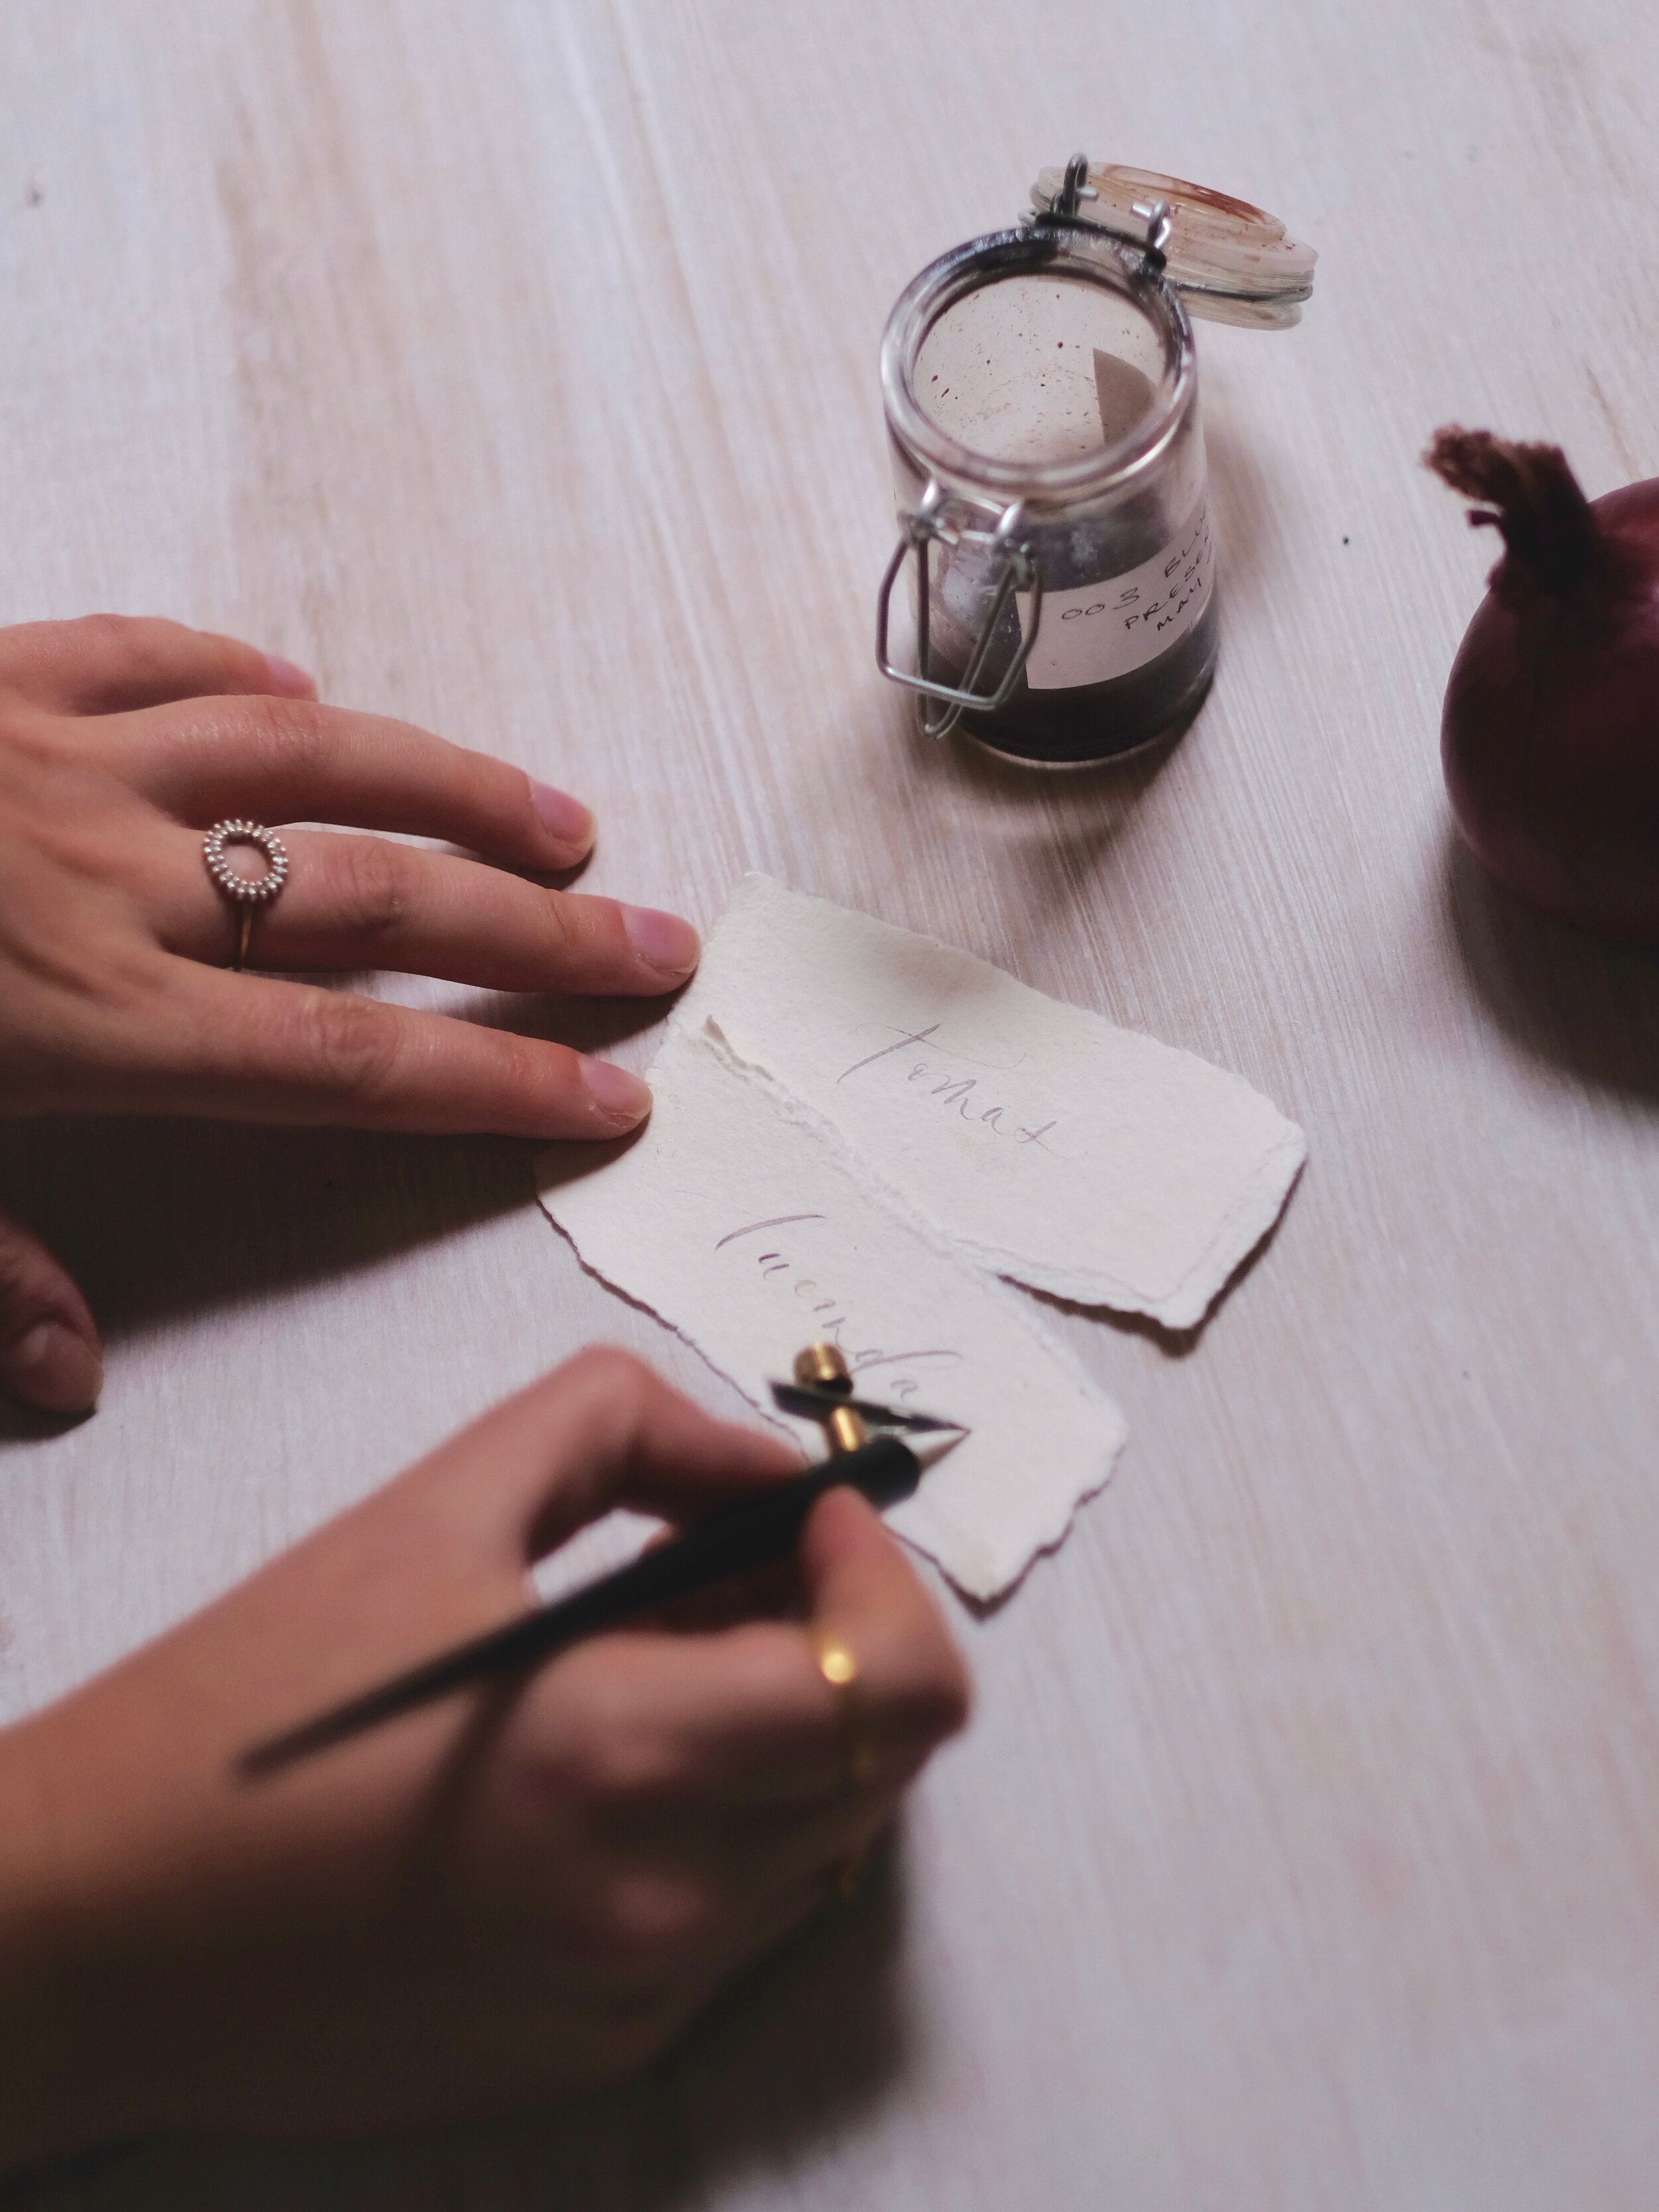
Natural inks made from fruit of flowers are not lightfast or colour fast, meaning they will naturally fade or change colour slightly over time. For this reason, sadly I can't offer natural inks for my custom calligraphy pieces. But they would be perfect for temporary stationery pieces, like wedding place cards, table numbers, or envelope addressing. I used my blueberry ink to create a set of delicate placecards on handmade recycled cotton paper for a small garden gathering. If sustainability and natural materials are important to you on your wedding day, get in touch here.
If you are a fellow calligrapher with a love for foraging for natural materials, you can find my recipes below. Alternatively, if don't fancy turning your kitchen into a science lab with a strong vinegar odour (you have been warned), you can buy natural inks ready made. For example Kate Cullen's Walnut Ink (note that walnut ink is lightfast - hooray!).
tips…
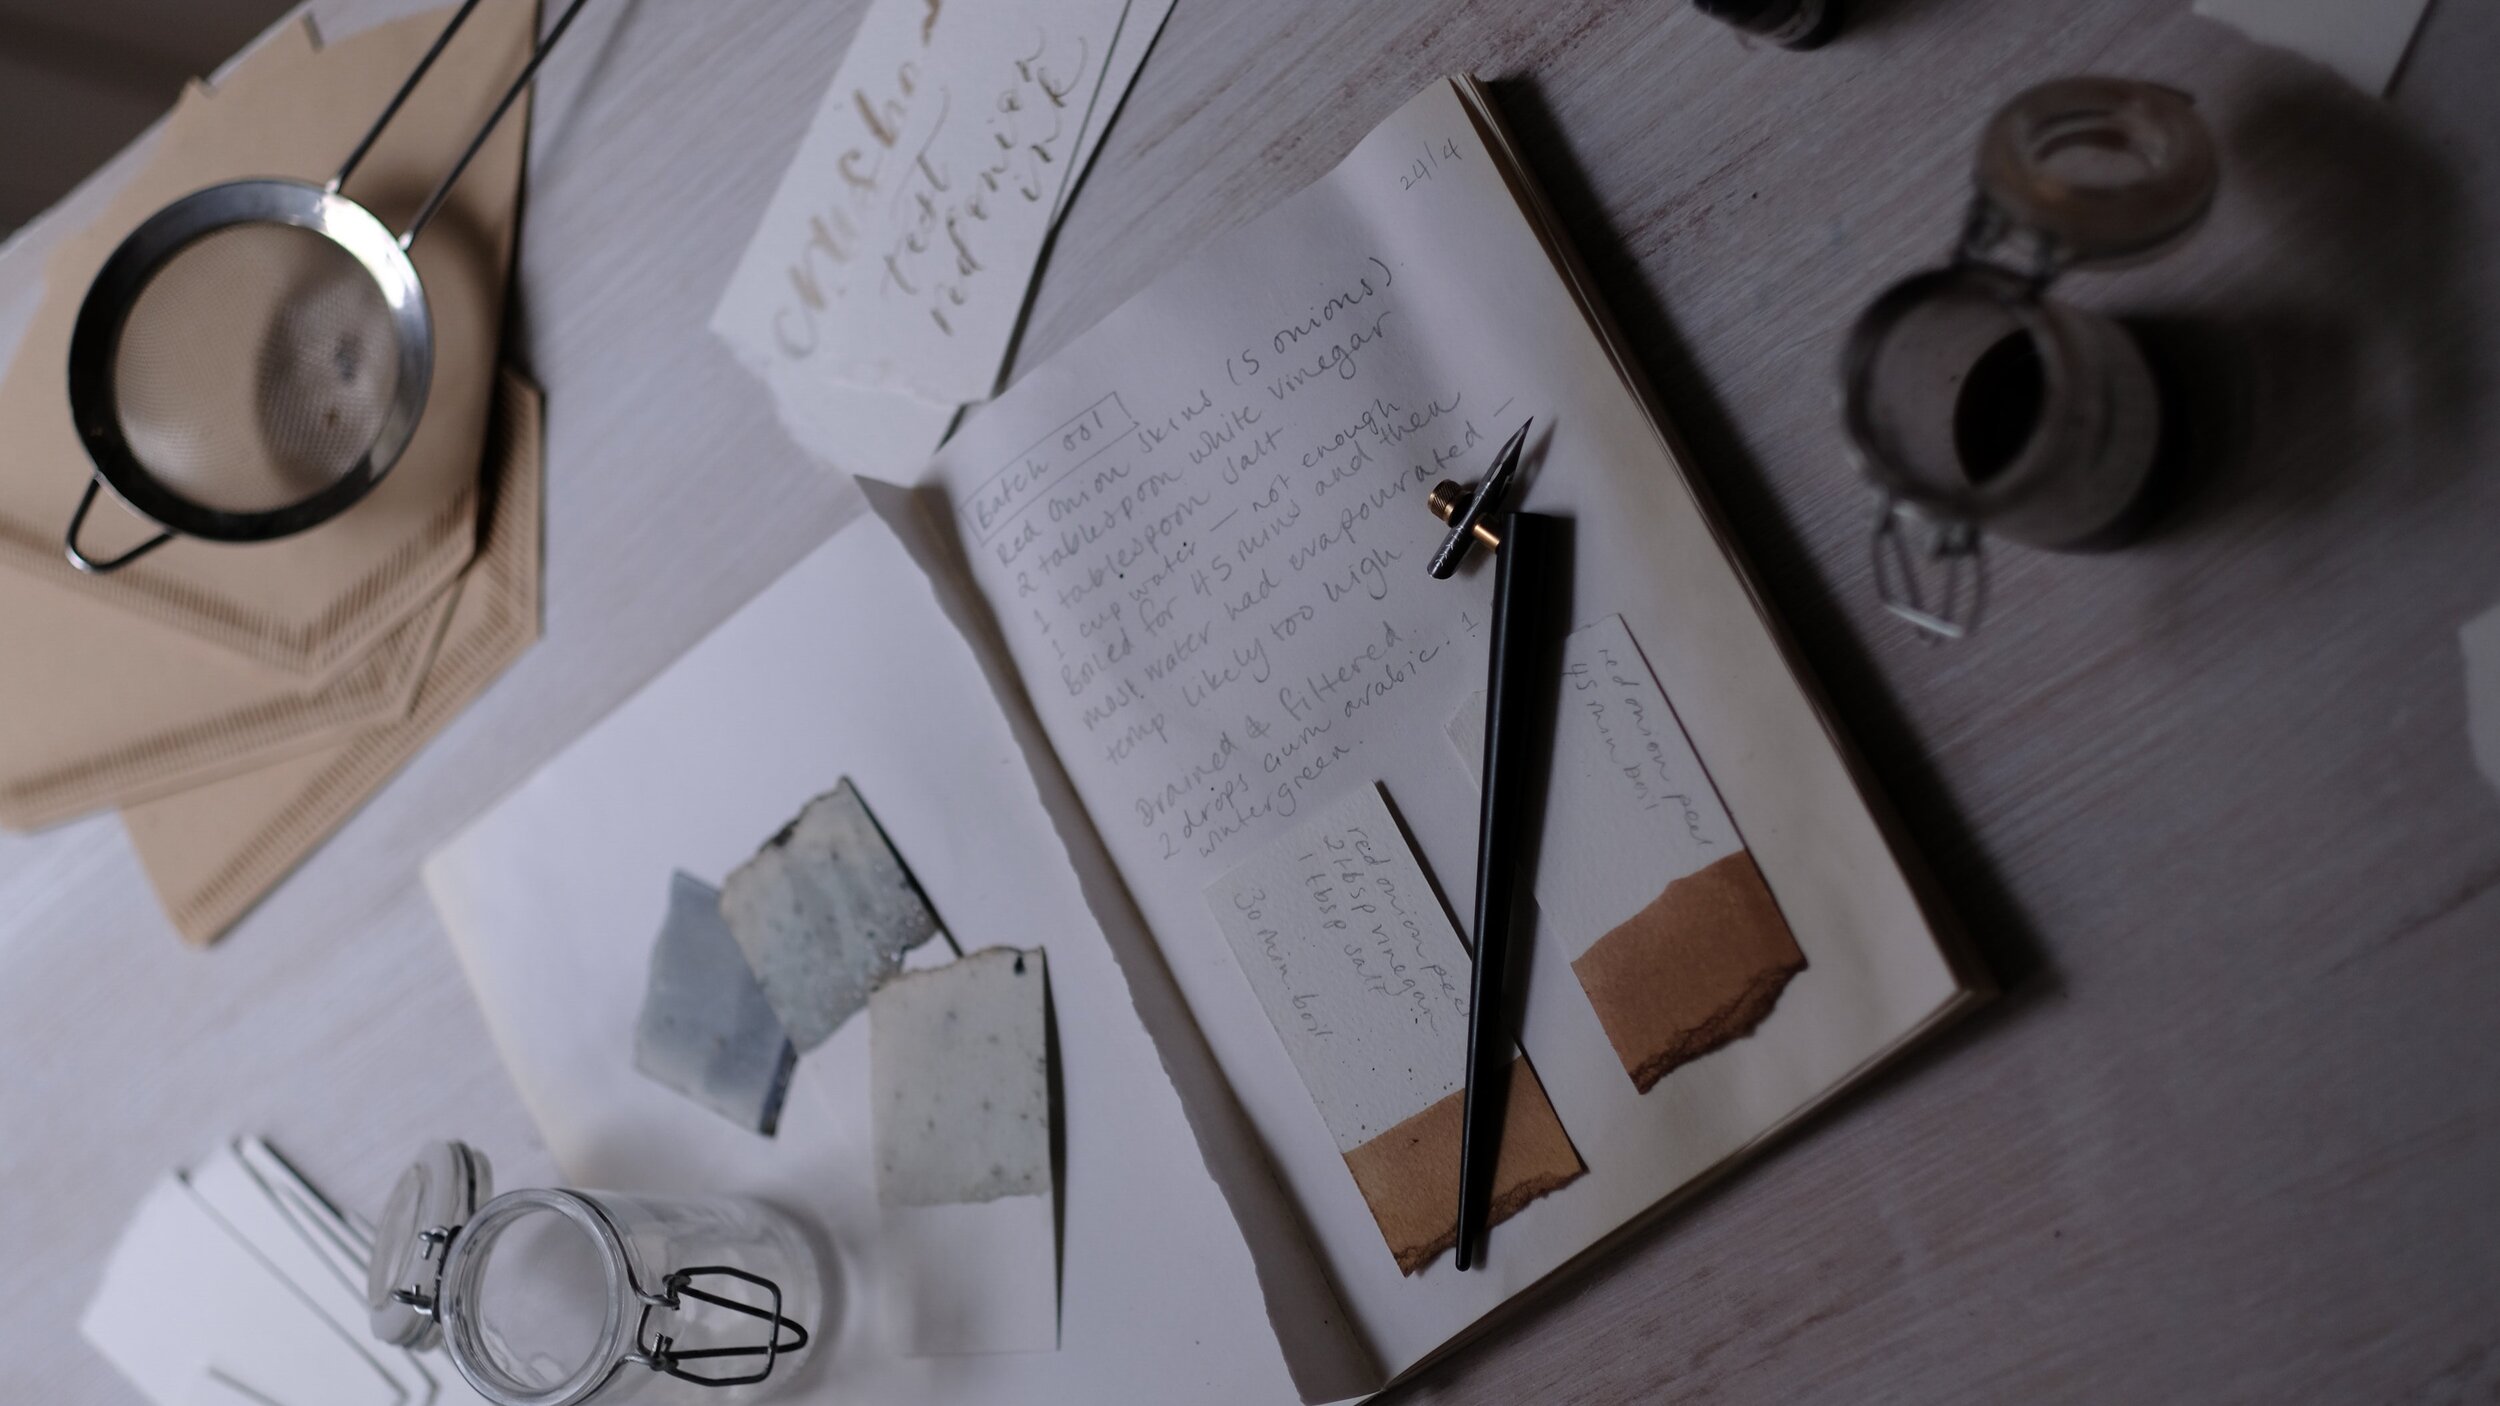
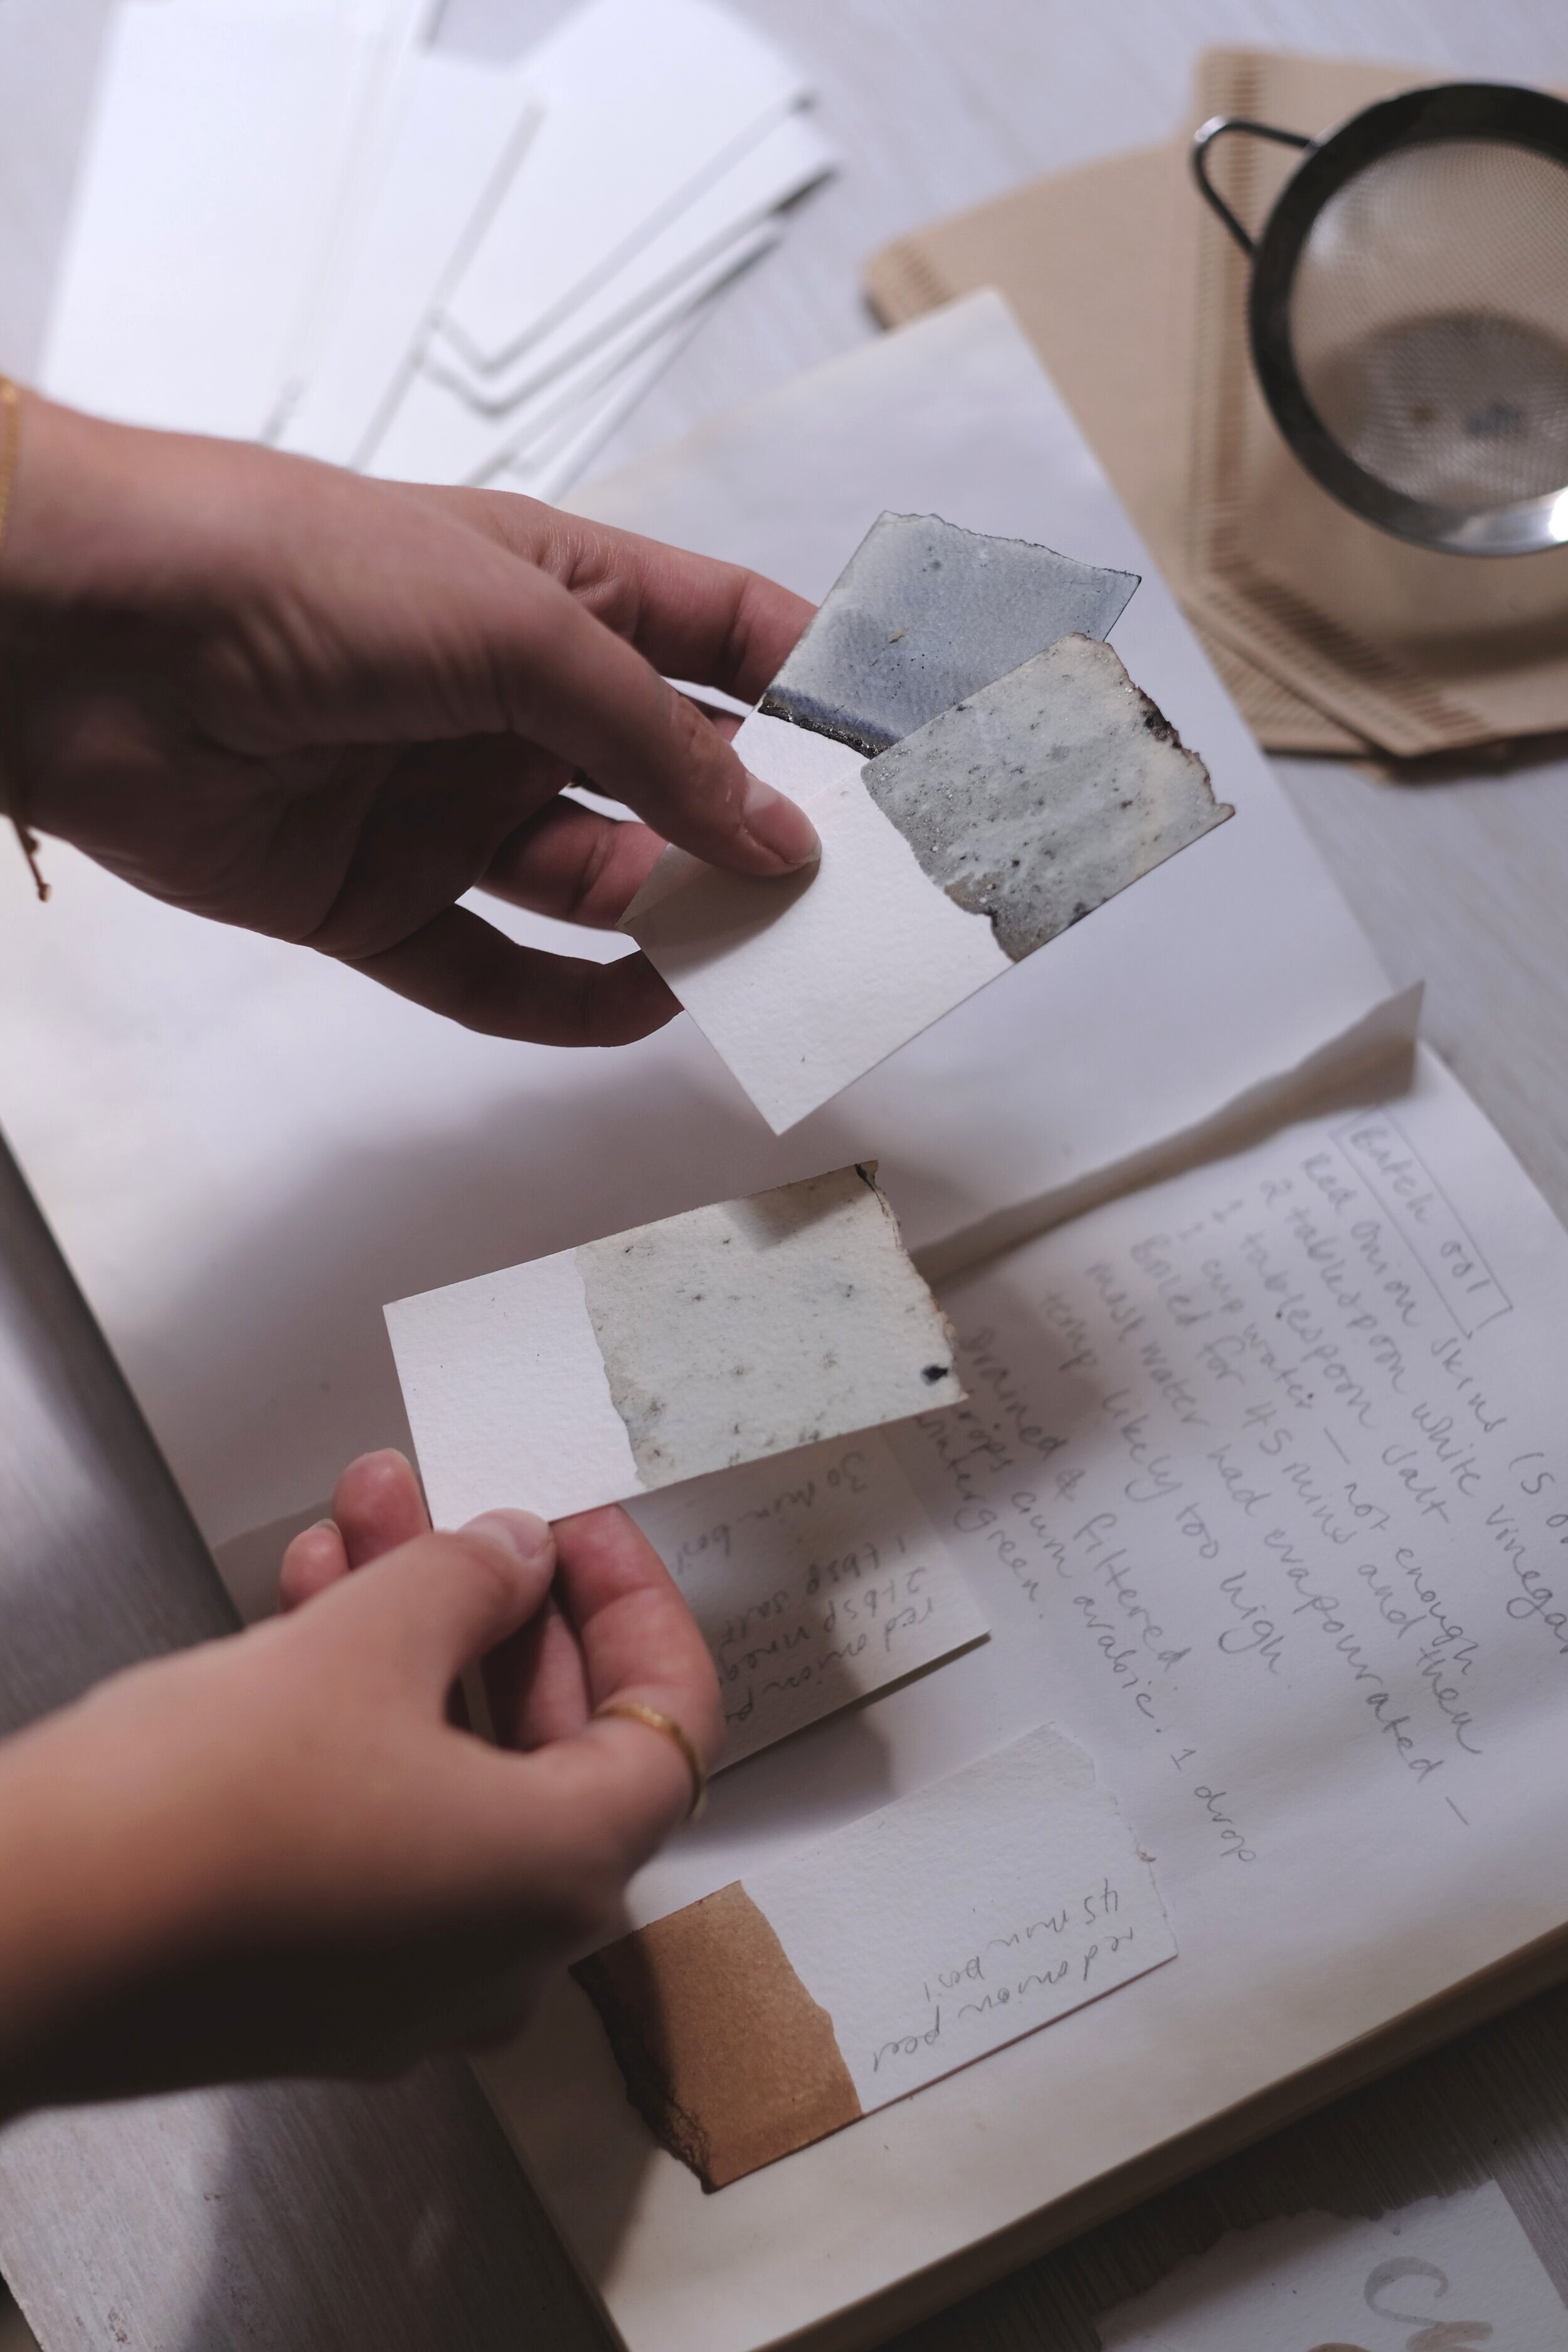
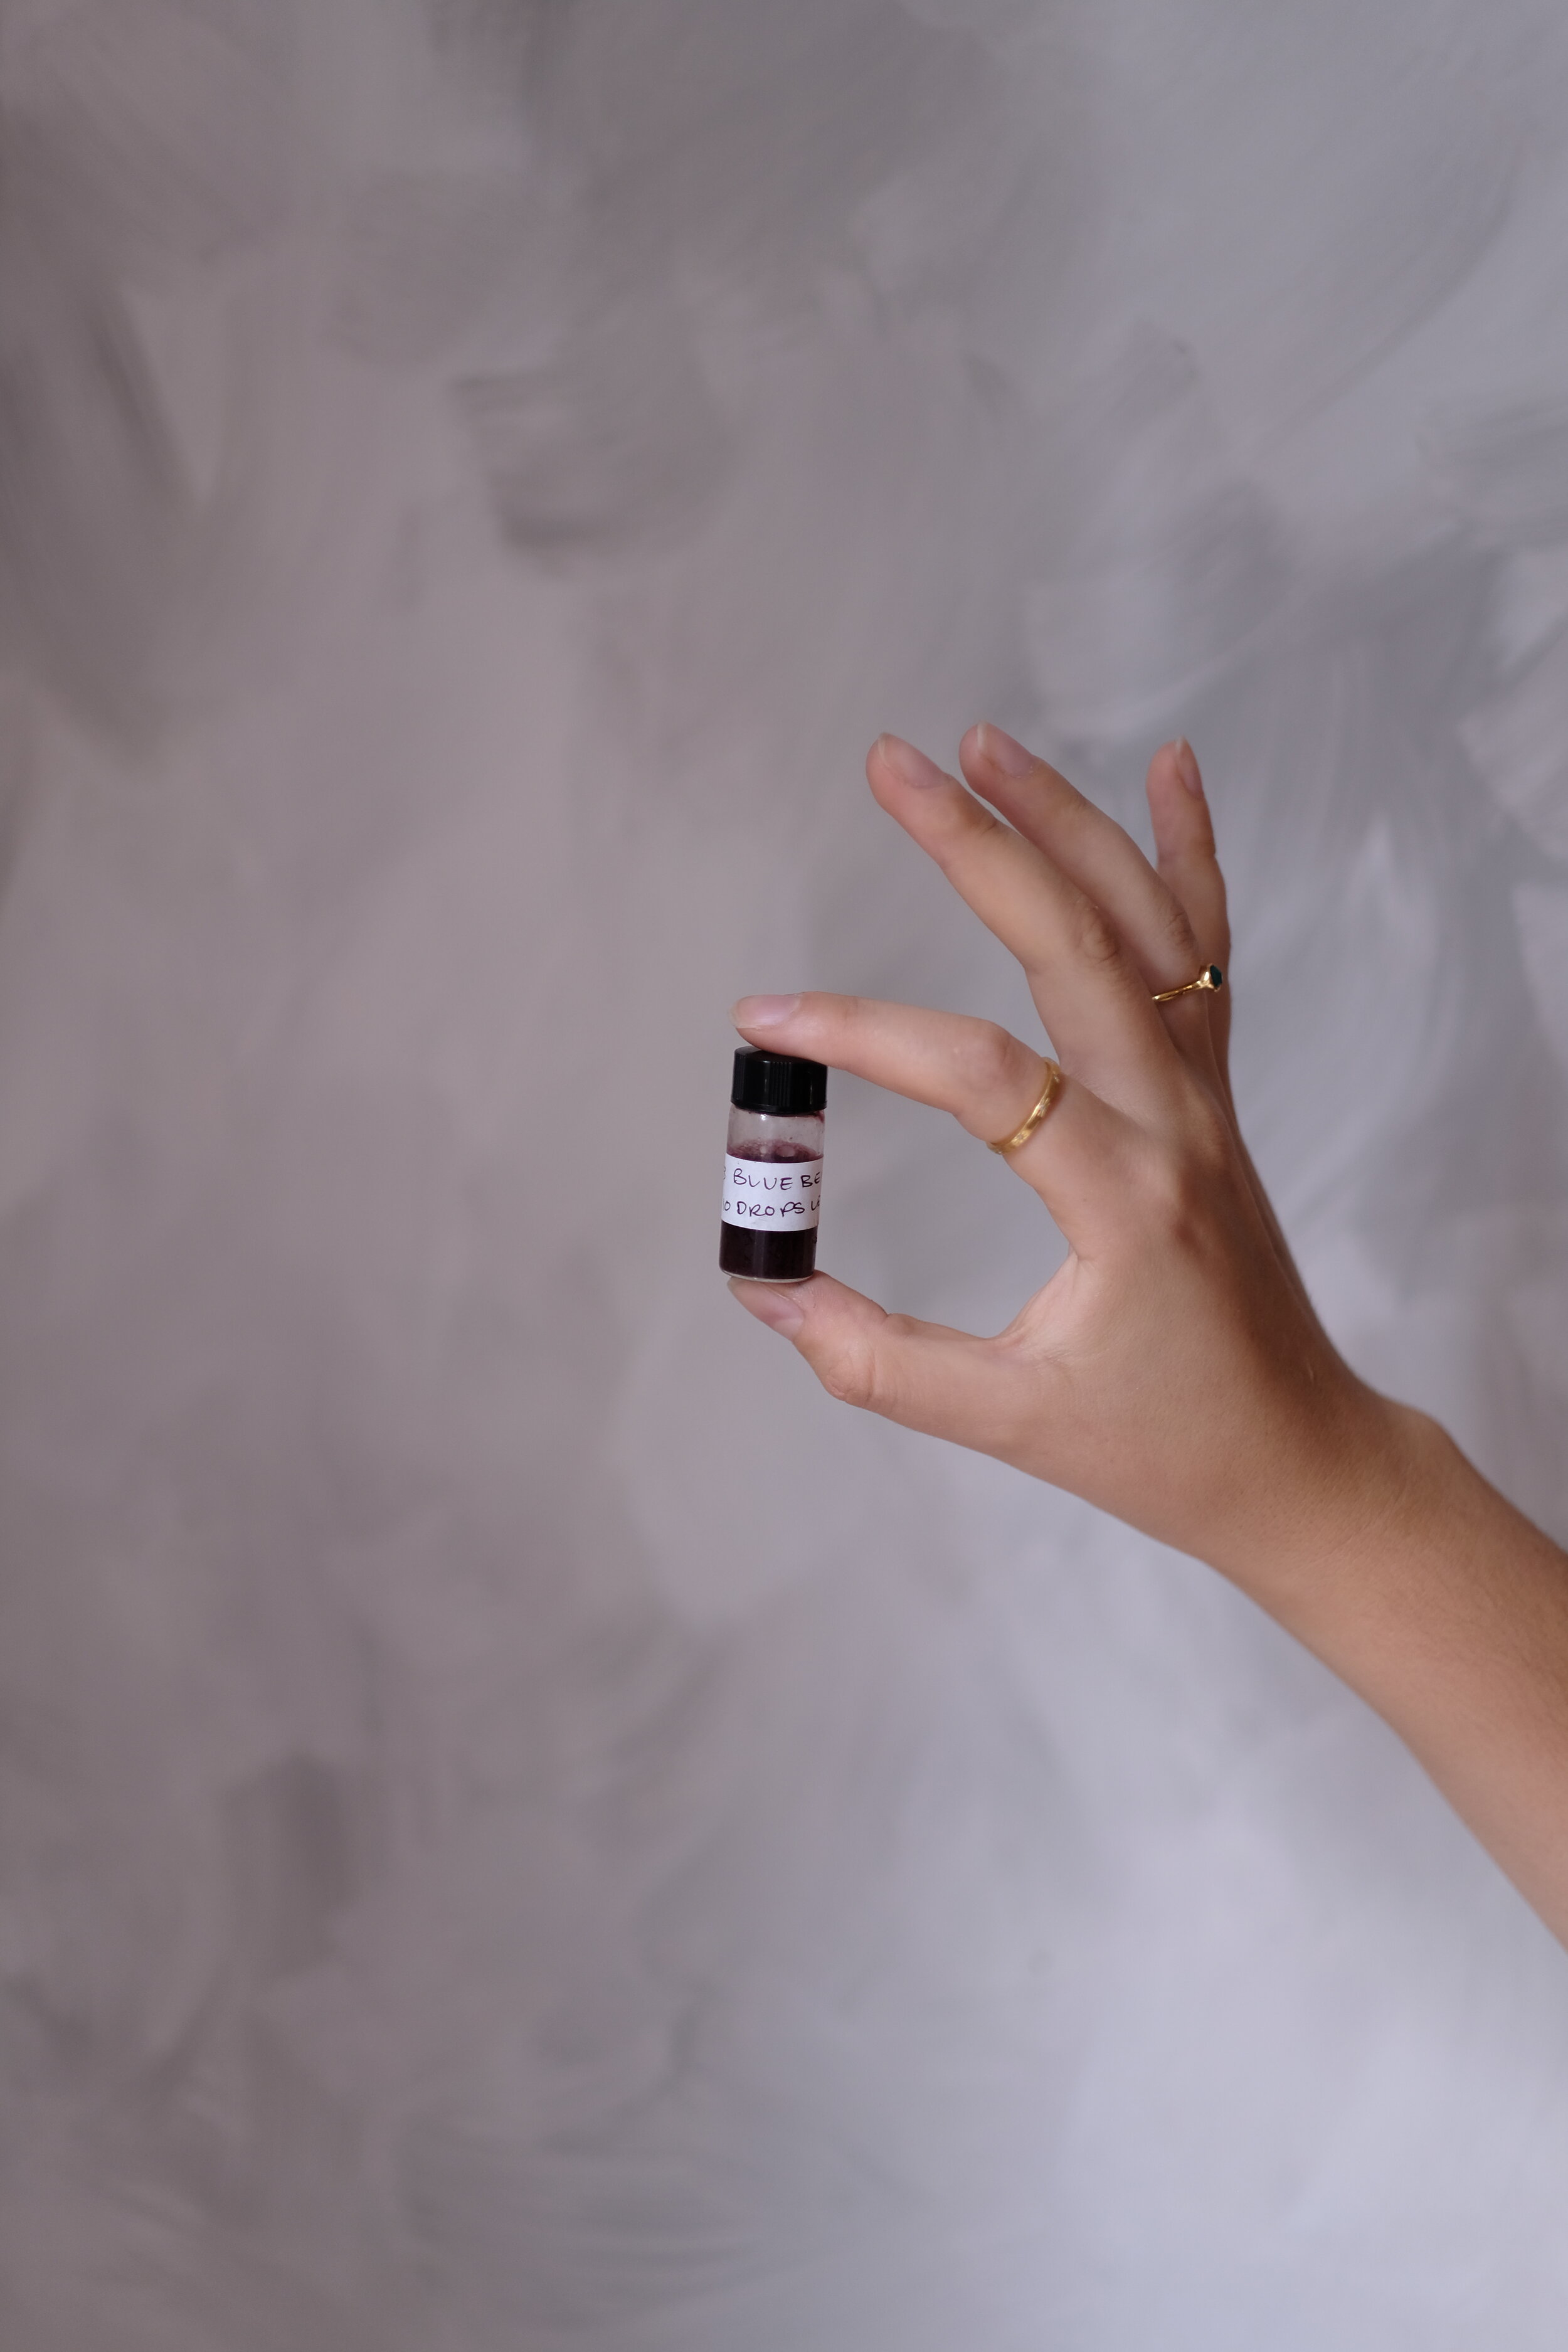
Keep a journal of your experiments and make a note of the recipe, date, and batch number. You can also tape your colour swatches in there too. Label your inks with the same batch number so you can keep track of your recipes. If nothing else, it will make you feel like a scientist, or a wizard.
Get lots of small airtight jars and some pipettes so you can divide up a batch of ink after draining it, and experiment with adding different amounts of gum arabic so you can vary the thickness of the ink to suit your project.
Don't be afraid to experiment! Adding lemon juice (acid) or baking soda (alkaline) varies the colour. For example, 1 part lemon juice to 2 parts blueberry ink, will create a bright pink ink!
basic homemade ink recipe:
Materials:
Coffee Filter, Funnel, Steel saucepan (not aluminium), Airtight glass jars
Wintergreen Oil, Gum Arabic, Salt, White Vinegar
Foraged materials - fruit/veg, leaves, spices, flowers - this will give you your colour
Recipe:
Put your foraged/natural materials in the saucepan and cover well with water.
Add a teaspoon of salt and a teaspoon of white vinegar.
Bring to boil and simmer very gently on your lowest setting.
Cook for at least an hour, but longer cooking times will bring a deeper more intense colour.
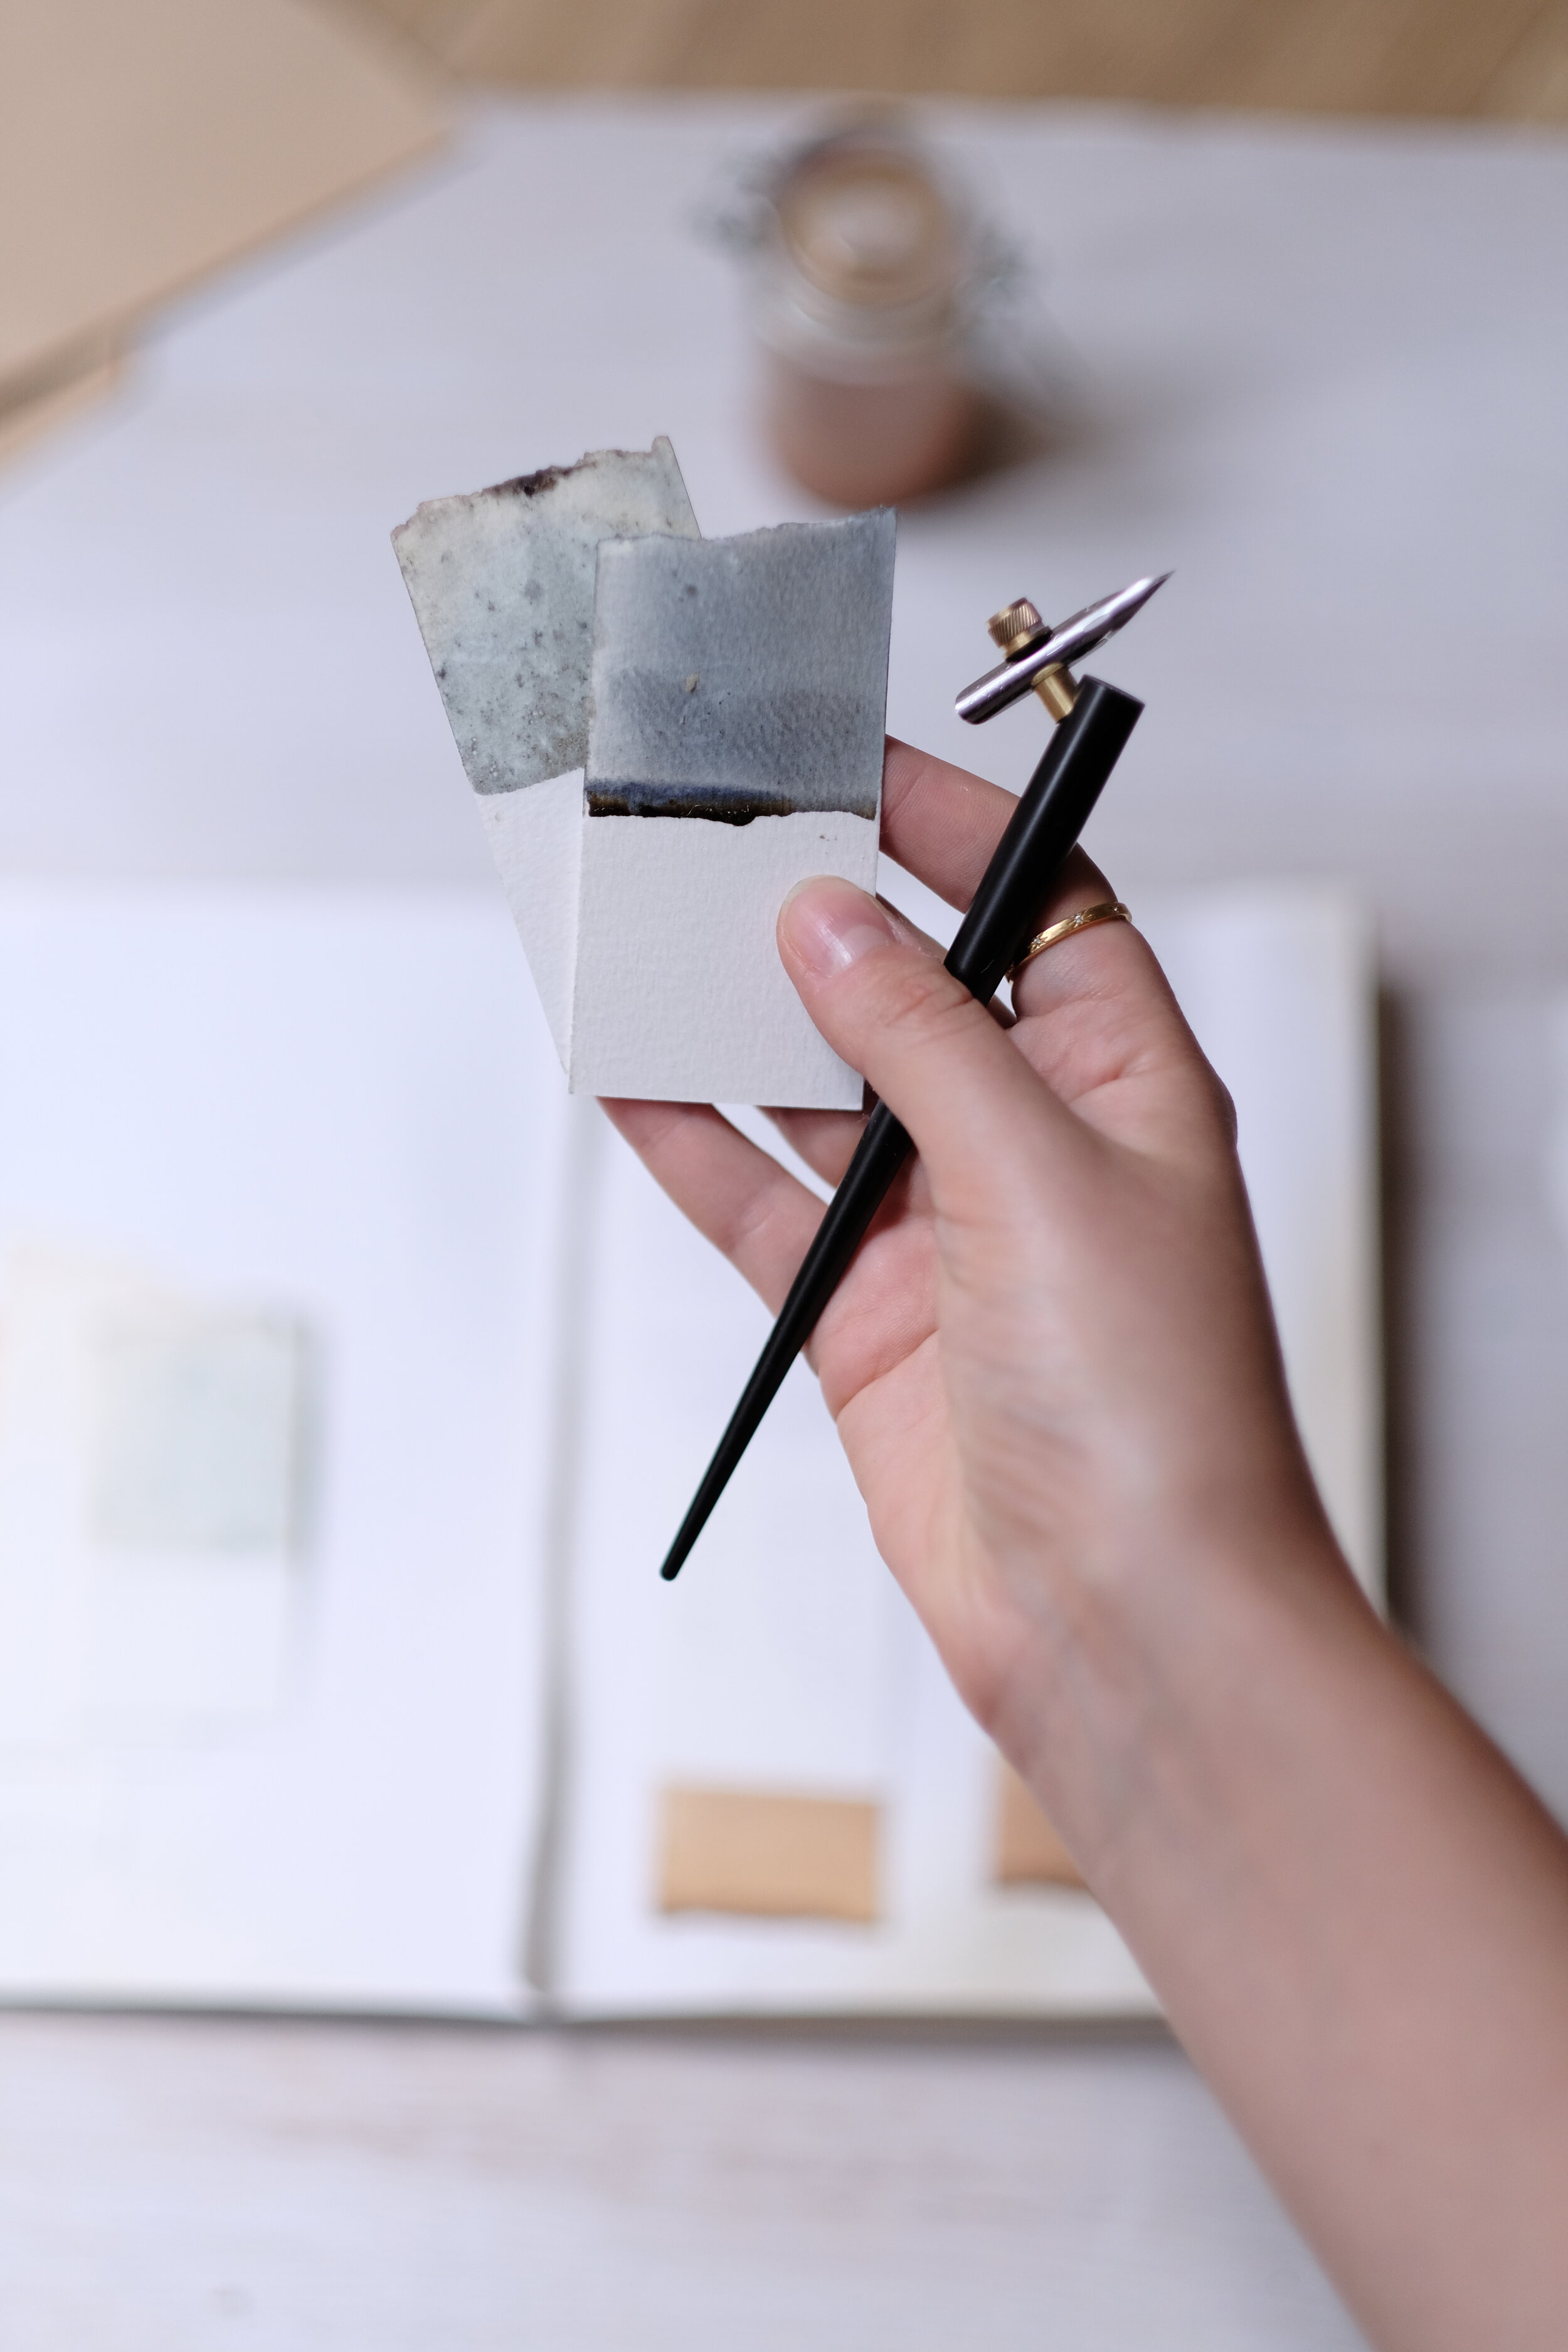
Test the intensity and shade by dipping strips of paper/card into the pan and leaving to dry.
Place a coffee filter into the funnel, and place the funnel into the glass jar. Drain the mixture through the filter and sieve.
Add gum arabic (just two or three drops for calligraphy ink) and one or two drop of wintergreen (as a preservative). Close with a tight-fitting lid.
Use a fresh, dry calligraphy nib which has been cleaned using washing up liquid. Use thick watercolour paper or paper with a good absorbency. Test the ink gently - you may have to go at a slower pace than your usual calligraphy speed, and you don’t want to overload the nib with ink as it more watery than your usual ink. If it is too runny, try adding another couple of drops of gum arabic. These inks also work well for lettering with a fine paintbrush - I’d recommend a size 0 or smaller Da Vinci Series Cosmotop Spin Brush.
All photos by Liddy Greenaway.